Charlieplexing is a technique of controlling many LEDs using a few I/O pins. Charlieplexing is same as multiplexing, but it uses the tri-state logic (high, low input) to reduce the number of pins dramatically and to gain efficiency over multiplexing. The Charlieplexing technique is named after its inventor, Charlie Allen, who invented the technique in 1995. We previously used multiplexing technique in Arduino to interface 4-digit 7-segment display and driving 8x8 LED matrix.
Charlieplexing allows you to control N * (N – 1) LEDs, where N is the no of pins. For example, you can control 12 LEDs using 4 Arduino pins 4*(4-1) =12. LEDs are diodes, and in diodes, current flows in only one direction. So in Charlieplexing, we connect two LEDs in parallel with each other but with opposite polarity so that only one LED turn on at a time. When it comes to Arduino or other microcontroller boards, you never have enough input/output pins. If you are working on a project in which you need to interface LCD display, a bunch of LEDs, and some sensors, then you are already out of pins. In that situation, you can charlieplex LEDs to reduce the number of pins.
In this tutorial, we are going to use the Charlieplexing technique to control the 12 LEDs using 4 Arduino pins.
Components Required
- Arduino UNO
- LED (12)
- 4 Resistor (330 ohms)
- Jumper Wires
- Breadboard
Circuit Diagram
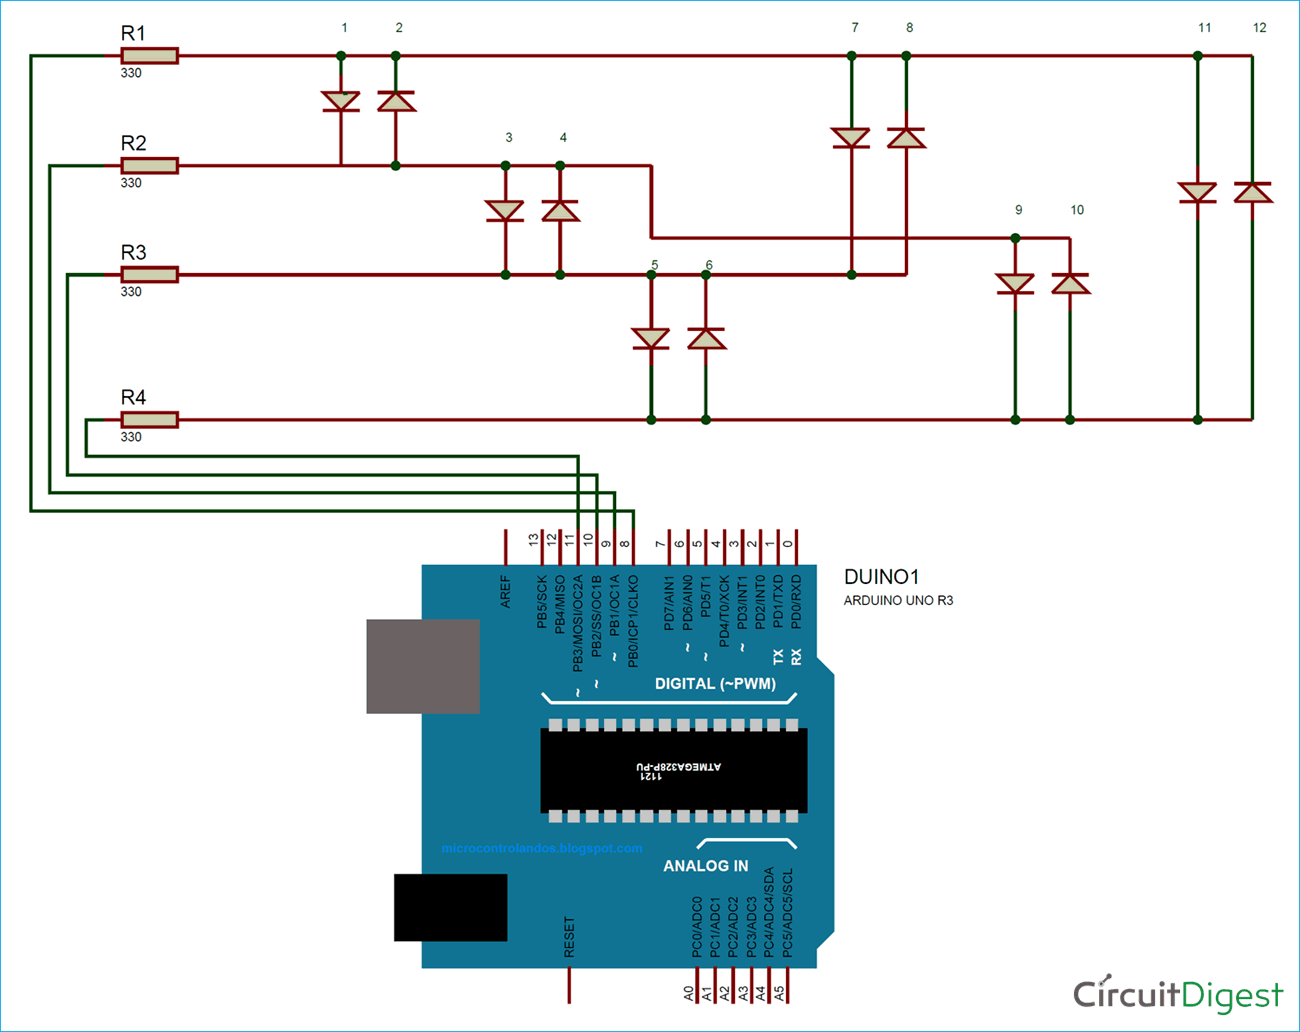
Basically, in this circuit diagram, 12 LEDs are connected with 4 Arduino pins through resistors. Each pin of Arduino is connected with three LEDs. There are six groups of LEDs, and in each group, 2 LEDs are connected, and both LEDs are parallel with each other but with opposite polarity so that only one LED turn on at a time. So according to the circuit diagram to turn on led 1, there needs to be a HIGH signal on pin A and a LOW signal on pin B, and pin C and D needs to be disconnected. The same procedure will be followed for the other LEDs. The full table of pin settings for each LED are given below:
| LED | Pin 8 | Pin 9 | Pin 10 | Pin 11 |
| 1 | HIGH | LOW | INPUT | INPUT |
| 2 | LOW | HIGH | INPUT | INPUT |
| 3 | INPUT | HIGH | LOW | INPUT |
| 4 | INPUT | LOW | HIGH | INPUT |
| 5 | INPUT | INPUT | HIGH | LOW |
| 6 | INPUT | INPUT | LOW | HIGH |
| 7 | HIGH | INPUT | LOW | INPUT |
| 8 | LOW | INPUT | HIGH | INPUT |
| 9 | INPUT | HIGH | INPUT | LOW |
| 10 | INPUT | LOW | INPUT | HIGH |
| 11 | HIGH | INPUT | INPUT | LOW |
| 12 | LOW | INPUT | INPUT | HIGH |
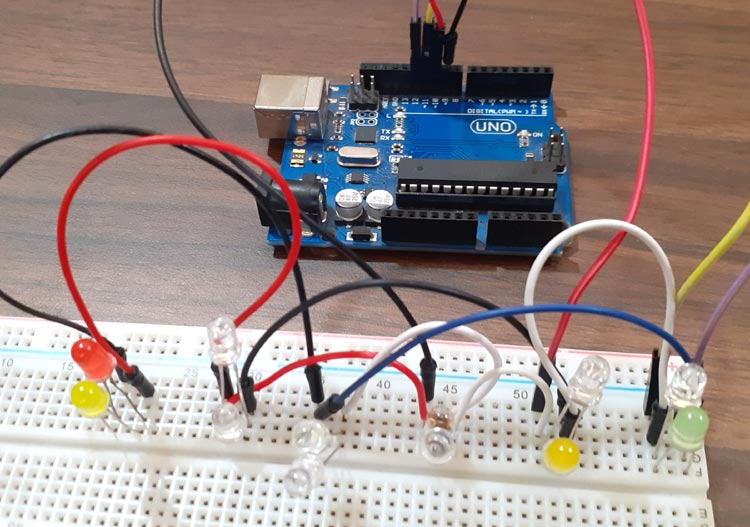
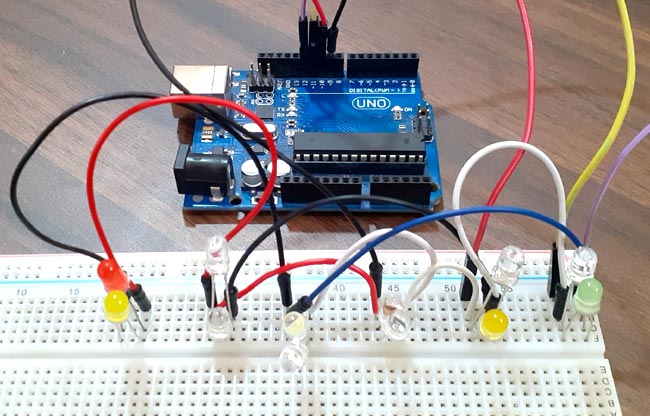
After the connections my hardware looks like the image below. As you can see from image there are six groups of LEDs and in each group 2 LEDs are connected opposite to each other. The Arduino UNO module is powered by USB port.

Code Explanation
Complete code with a working video is given at the end of this tutorial, here we are explaining the complete program to understand the working of the project.
In the starting of Arduino code define all the pin at which LEDs are connected. After that, define the total number of LEDs and led state.
#define A 8
#define B 9
#define C 10
#define D 11
#define PIN_CONFIG 0
#define PIN_STATE 1
#define LED_Num 12
Now create a matrix for turning on and off LEDs in a sequence, you can change the sequence by changing the pin state and pin configuration. According to this matrix, LED1 will be turned on first then LED2 and so on.
int matrix[LED_No.][2][4] = {
  //           PIN_CONFIG                  PIN_STATE
  //            A             B              C          D                    A        B        C        D
  { { OUTPUT, OUTPUT, INPUT, INPUT }, { HIGH, LOW, LOW, LOW } },
  { { OUTPUT, OUTPUT, INPUT, INPUT }, { LOW, HIGH, LOW, LOW } },
  { { INPUT, OUTPUT, OUTPUT, INPUT }, { LOW, HIGH, LOW, LOW } },
  …………………………….
……………………………..
Now inside the void loop, the program will execute the LED_COUNT matrix to turn on and off LEDs in the given sequence.
void loop() {
  for( int l = 0; l < LED_Num; l++ ) {
    lightOn( l );
    delay( 1000 / LED_Num );
  }
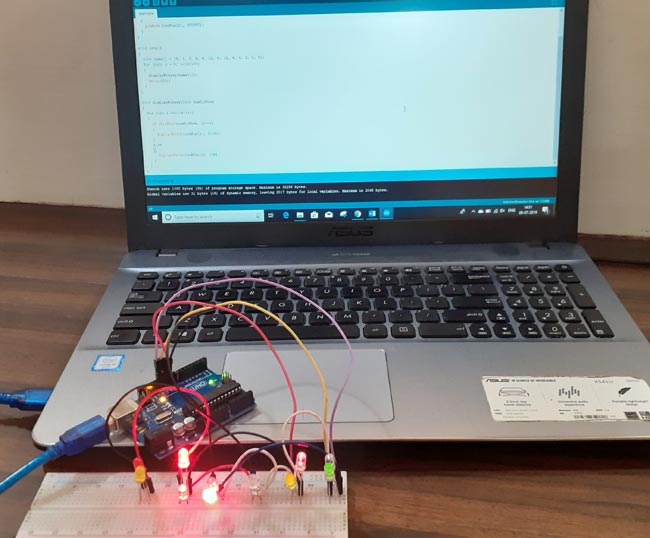
Now connect the Arduino with the laptop and choose the board and port correctly and then click the Upload button. After uploading the code, your LEDs should start blinking.

So this is how Charlieplexing technique can be used to control many LEDs using fewer Arduino pins. You can use this method to control more number of LEDs. For example, if you want to control 20 LEDs, just edit the matrix and add the conditions for remaining LEDs.
Find the complete code and working video below.
#define A 8
#define B 9
#define C 10
#define D 11
#define PIN_CONFIG 0
#define PIN_STATE 1
#define LED_Num 12
int matrix[LED_Num][2][4] = {
// PIN_CONFIG PIN_STATE
// A B C D A B C D
{ { OUTPUT, OUTPUT, INPUT, INPUT }, { HIGH, LOW, LOW, LOW } },
{ { OUTPUT, OUTPUT, INPUT, INPUT }, { LOW, HIGH, LOW, LOW } },
{ { INPUT, OUTPUT, OUTPUT, INPUT }, { LOW, HIGH, LOW, LOW } },
{ { INPUT, OUTPUT, OUTPUT, INPUT }, { LOW, LOW, HIGH, LOW } },
{ { OUTPUT, INPUT, OUTPUT, INPUT }, { HIGH, LOW, LOW, LOW } },
{ { OUTPUT, INPUT, OUTPUT, INPUT }, { LOW, LOW, HIGH, LOW } },
{ { OUTPUT, INPUT, INPUT, OUTPUT }, { HIGH, LOW, LOW, LOW } },
{ { OUTPUT, INPUT, INPUT, OUTPUT }, { LOW, LOW, LOW, HIGH } },
{ { INPUT, OUTPUT, INPUT, OUTPUT }, { LOW, HIGH, LOW, LOW } },
{ { INPUT, OUTPUT, INPUT, OUTPUT }, { LOW, LOW, LOW, HIGH } },
{ { INPUT, INPUT, OUTPUT, OUTPUT }, { LOW, LOW, HIGH, LOW } },
{ { INPUT, INPUT, OUTPUT, OUTPUT }, { LOW, LOW, LOW, HIGH } }
};
void lightOn( int led ) {
pinMode( A, matrix[led][PIN_CONFIG][0] );
pinMode( B, matrix[led][PIN_CONFIG][1] );
pinMode( C, matrix[led][PIN_CONFIG][2] );
pinMode( D, matrix[led][PIN_CONFIG][3] );
digitalWrite( A, matrix[led][PIN_STATE][0] );
digitalWrite( B, matrix[led][PIN_STATE][1] );
digitalWrite( C, matrix[led][PIN_STATE][2] );
digitalWrite( D, matrix[led][PIN_STATE][3] );
}
void setup() {}
void loop() {
for( int l = 0; l < LED_Num; l++ ) {
lightOn( l );
delay( 1000 / LED_Num );
}
}


Great nooby project, but be aware that the sketch is written to light the LEDs in a different order than 1-12.
As written, the sketch activates pins 8/9 (hi/low then low/high) , then 9/10, then 8/10, then 8/11, then 9/11 and finally 10/11. The diagrm has the LEDs labelled in a different order.
Once you get the LEDs wired up correctly in a circle, it's pretty cool. Trying different delay values in the sketch makes it even more interesting!